Step 1: Assess Your Current Setup
Before selecting a new faucet, take a close look at your existing plumbing and sink setup:
- Mounting holes: Count the number of holes in your sink or countertop (single-hole, centerset, widespread).
- Supply lines & shut-offs: Check if the shut-off valves under the sink move freely and show no signs of corrosion.
- Water pressure/flow: Turn on the faucet, observe how fast water flows, any sputtering or low pressure.
- Spout clearance and reach: Note how far the spout extends, clearance above the sink, splash radius.
- Finish and wear: Inspect the current faucet’s finish, handle operation and whether the style fits your design plan.
If you’ll be doing other plumbing or fixture upgrades, this is a good time to plan whether the faucet replacement alone is enough or deeper work is needed.
Step 2: Picking the Right Faucet
Style & Function
- Kitchen vs bathroom vs laundry: Each space has different needs—kitchen often needs a pull-down or high-arc sprayer; bathroom might focus on style and handle ergonomics; laundry may need simplicity and durability.
- Handle type: Single-handle for ease and space saving; dual handles for traditional look and separate hot/cold control.
- Spout style & reach: High arc may provide more clearance, but avoid too tall if you have overhead cabinets.
- Finish: Match or complement your sink, hardware and lighting. Finishes include chrome, nickel, brass, matte black, etc.
- Special features: Touchless sensors, pull-down sprayers, filtered water outlets, integrated soap dispensers—good to consider if you want added convenience.
Material & Quality
- Construction: Look for solid brass or higher-grade materials rather than cheap plastic components.
- Cartridge/valve quality: Internal parts matter—higher-quality valves reduce leaks and wear.
- Certifications: Although we’re not mentioning guarantees, it helps to check that the fixture meets water-quality/efficiency standards (such as low-flow certification).
- Ease of maintenance: Removable aerators, corrosion-resistant finish, easy-access parts make maintenance easier.
Matching Your Plumbing System
- Ensure the faucet’s water supply fitting matches your existing lines (typically ⅜” compression).
- Check if the sink or deck has enough support and clearance for the new faucet.
- If the plumbing lines or shut-offs show signs of corrosion or age, you might plan to replace or service them concurrently. This ensures your new faucet performs at its best.
Step 3: Installation Process Explained
Here’s a typical installation roadmap:
Pre-Installation
- Turn off the water supply (under-sink shut-off valves) and turn on the faucet to relieve pressure and drain any remaining water.
- Place a towel or bucket under the sink to catch any drips.
- Disconnect existing supply lines and remove the old faucet (including any mounting nuts beneath the sink).
- Clean the sink area, remove old sealant or mounting rings, inspect for rust, corrosion or damage to the sink deck.
Mounting the New Faucet
- Position the new faucet in the sink or countertop holes. Use any included gasket or sealant as instructed.
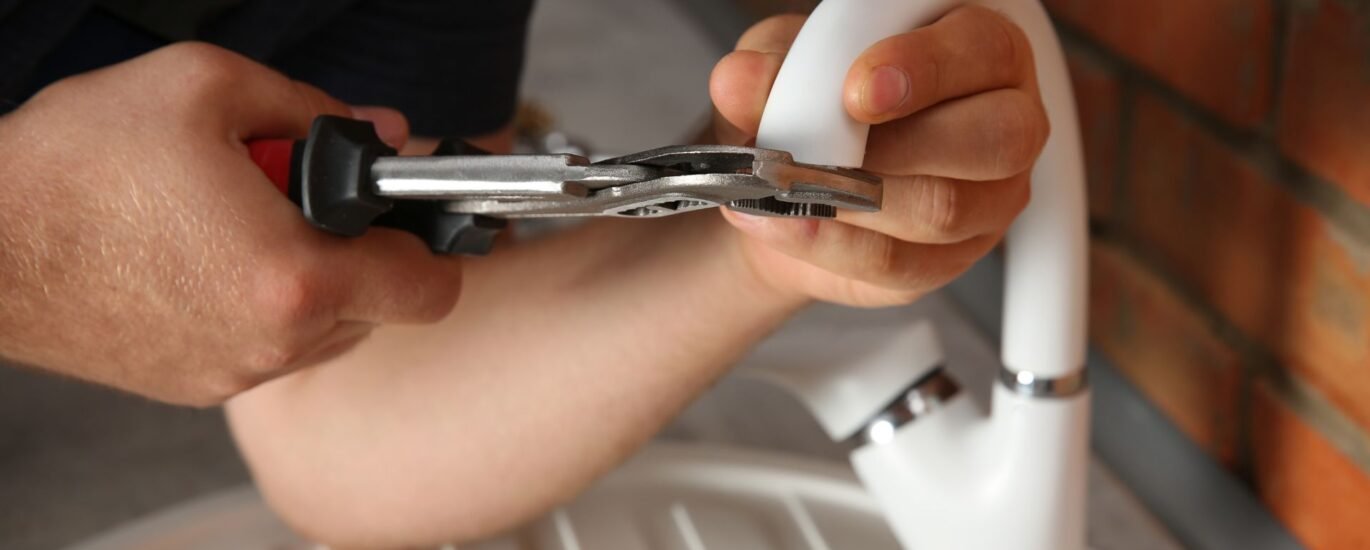
- From beneath the sink, hand-tighten the mounting hardware, align the faucet (especially for sprayers) and then secure firmly (usually with a basin wrench).
- Attach supply lines to the faucet and to the shut-off valves. Use new flexible hoses if necessary.
- If your faucet came with additional features (sprayer, soap dispenser, filtered water), install those per manufacturer instructions.
Final Setup & Testing
- Turn the shut-off valves back on slowly.
- Check for leaks at the supply line connections and around the base of the faucet.
- Run both hot and cold water, test handle operation, check sprayer or special features.
- Flush the aerator to remove debris (turn faucet on full for a minute).
- Clean any fingerprints or sealant residue.
If you find low flow, sputtering, or a leak at supply connections, review your connections and tighten or reseal as needed.
Step 4: Post-Installation Considerations
- Make a note of the installation date and model of the faucet (useful for future reference).
- If you replaced the faucet but noticed the supply lines or shut-offs were worn, schedule a check of those components.
- If you upgraded multiple fixtures (for example, replacing the faucet now and planning a shower or sink remodel), consider the entire plumbing system’s health so each component performs at its best.
- As with any upgrade in your home, if you ever experience persistent low pressure or multiple fixtures underperforming, it may signal a broader plumbing system issue rather than the faucet alone.
Since you’re upgrading your faucet, it’s the right time to evaluate whether the supporting plumbing is ready. When you’re ready to talk to a professional, head to our Contact Us page and review our Professional Faucet Replacement Services page.
Conclusion
Choosing and installing the right faucet takes just a little more planning than picking a new fixture. By assessing your current plumbing setup, selecting a quality faucet that meets your aesthetic and functional needs, and following a proper installation process, you’ll get far better long-term results. In the next blog we’ll focus on maintenance and care after your faucet replacement, so you can keep the performance high and headaches low. Until then, if you’re ready to move ahead with your upgrade, check our Faucet Replacement Services page and reach out through our Contact Us page.


